
The Data Management workspace in D365 F&O is a very powerful tool for import and exporting data from your system. This tool allows you to set up continuous integrations, process records in parallel, and migrate data from your legacy system. Here are a few tips and tricks that will allow you to use this workspace like a pro!
- Refresh entity list
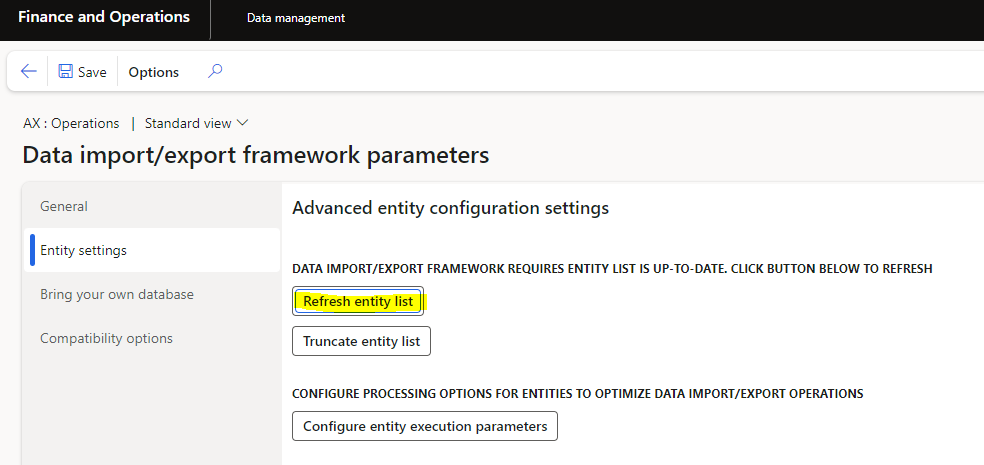
- When a new entity is created or updated, you may run to the Data Management workspace, eager to finally have access to your data, but you cannot find the new entity or field that was added! To see your changes, you first need to refresh the entity list. To do this, click on the tile ‘Framework parameters’, then under ‘Entity settings’ click the button called ‘Refresh entity list’. This may take a new minutes and will run in the background. When this is complete you will be able to see your changes under the ‘Data entities’ tile.
- Filter entities on export
- When exporting data, you may only want to export data based on a certain set of record level criteria. Thankfully, we have the ability to apply filters to entities to only export the data we need. To do this, click on the export project you are working with and choose the icon under the ‘Filter’ column. This will either be a funnel or pencil depending on if a filter is already set up on the line or not.
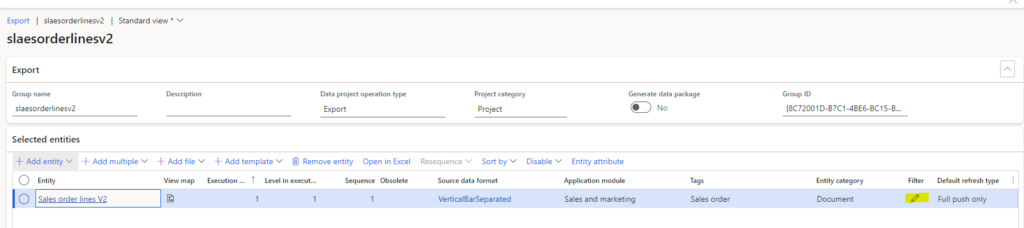
- Here you can add whatever filter criteria is required. This will only export records that match this criteria. This give you much greater control when exporting data and can drastically improve export times by reducing the record set being processed.

- Truncate data on import
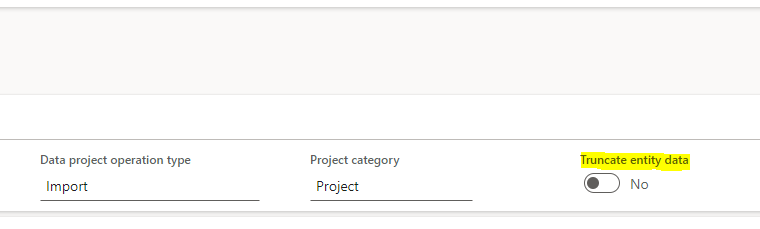
- When importing data, we may want to clear out all of the data currently in the system for that entity. This will allow our current upload to be a full push of all relevant data for the entity. This can be handy in situations where the incorrect data was loaded and needs to be purged from the system and replaced with accurate data.
- This can be achieved by the ‘Truncate data on import’ flag. This flag can be set on the import data project. Use this carefully as you will be forcefully removing data from the system and this could have unintended consequences.
- Run parallel tasks
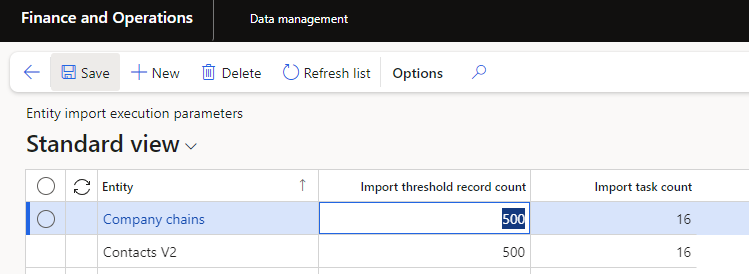
- Running tasks in parallel can greatly increase you import performance. To configure this, go back to the ‘Framework Parameters’ tile and under ‘Entity Settings’ you can select the button ‘Configure entity execution parameters’.
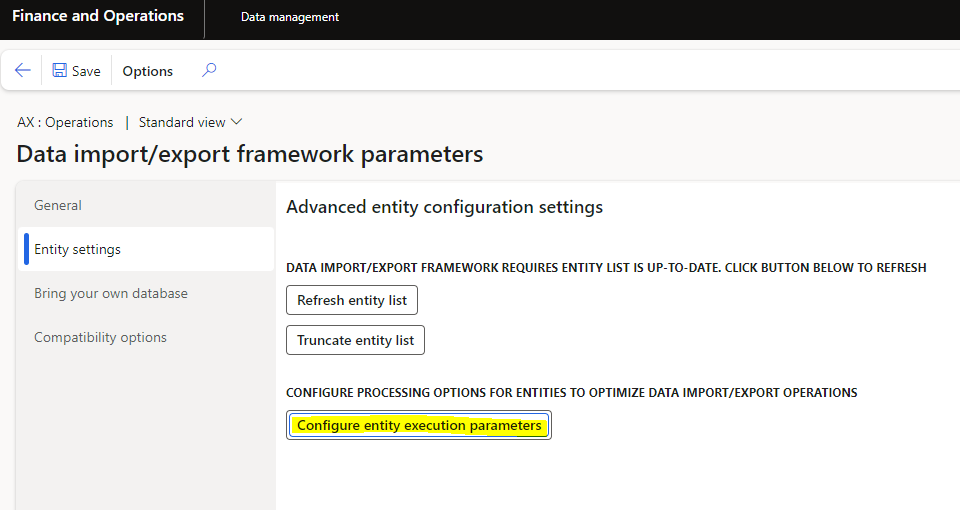
- Here, for each entity you can set the Import threshold record count and the Import task count.
Import threshold record count – minimum number of records needed before import task is split into its own separate thread to be processed in parallel.
Import task count – Maximum number of concurrently running threads that can be created for an import process. When setting this keep in mind your environment has a limited number of batch threads that can be used. Setting this number to high could slow down other batch processes in the system.
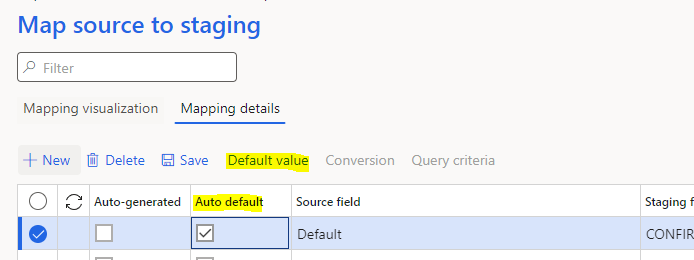
5. Default values on import
- When importing data it may be helpful to always default a specific column to a certain value. To achieve this, we can set up our import project, add our required entity, and select ‘View map’ by clicking on the map icon on the line record. Then under ‘Mapping details’ you can select the column in question and choose ‘Auto default’. Then you can select ‘Default value’ to set what the import’s default value should be for this column.
Keep reading about D365 tips and tricks here: https://markedcode.com/index.php/category/d365/
For technical questions, please visit https://d365techsupport.com


