
In this article, we will be looking at how to set up a BYODB database in your D365 FnO cloud hosted tier 1 development VM.
First, go to SSMS and create a new database, VMBYODB.

Then, under Security > Logins, choose to create a new user, byodbadmin. Note the password here as it will be needed later.

Right click this user and select properties. Navigate to User Mapping > VMBYDOB and set the user to have the db_owner role. Additionally, under Server Roles include serveradmin.

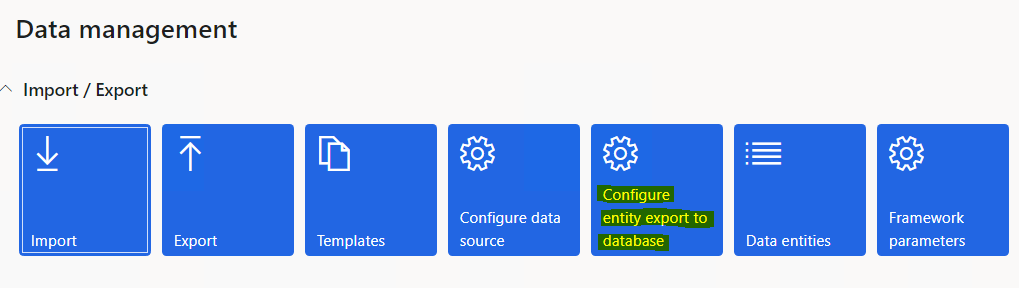
Next, open up the D365 front end and navigate to the Data Management Workspace. From here select the ‘Configure entity export to database’ tile.
Create a new record, VMBYODB. Enter the connection string in the following format:
Data Source=serverName;Initial Catalog=databaseName;Integrated Security=False;User ID=userid;Password=***
Make sure to validate the connection after entering the connection string.

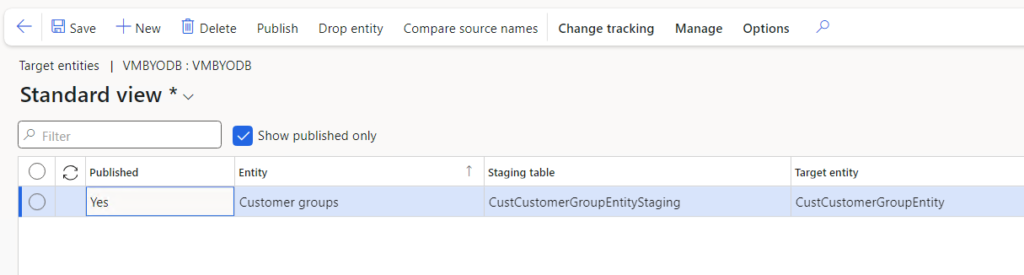
After the connection is valid, select ‘Publish’. Here we can choose which entities we want to publish to our BYODB database. Here I selected the Customer groups entity and clicked ‘Publish’. This kicked off a batch process, when complete we can see the entity marked as published here.
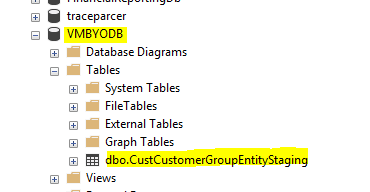
At this time we can also head back to SSMS and confirm the entity’s staging table is now visible in our VMBYODB database. However, data has not yet been exported so this table contains no records.
To populate our table with data we need to run an export job. We can set our export job up with the target data format set to our BYODB connection like so:
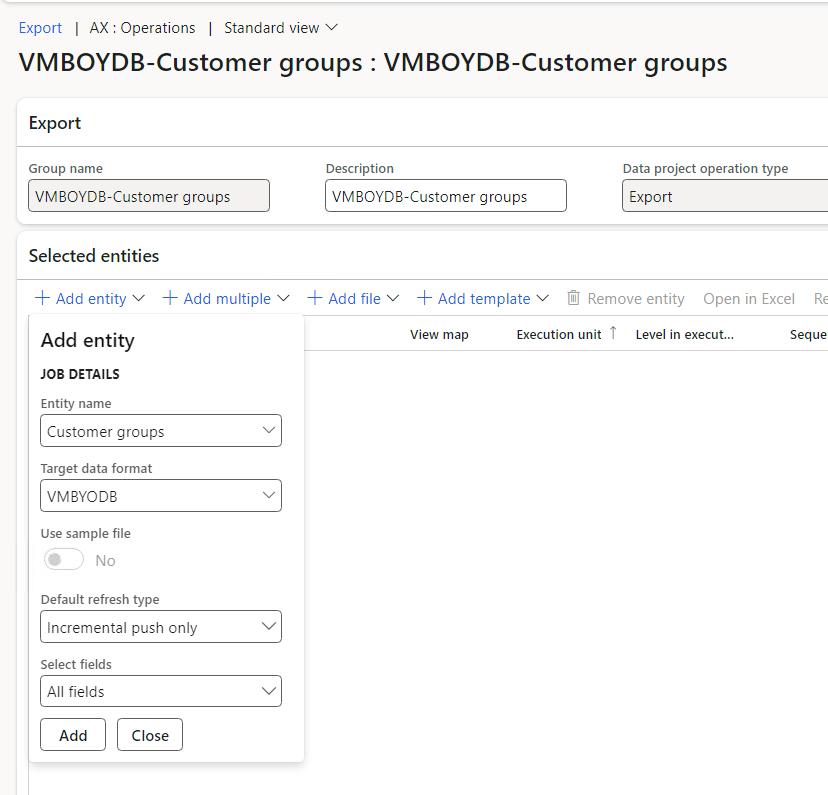
Then we can run the export job as normal, and upon completion our tables in the VMBYODB database will be populated with our data! We can then set up our export jobs on a recurrence to refresh the data at our desired cadence.
Keep reading about D365 tips and tricks here: https://markedcode.com/index.php/category/d365/


